Space
Posted on
I recently realized I kinda like space. A lot.
I started following Chris Hadfield on Twitter a few months ago. Someone had retweeted this tweet that had an amazing photo of San Francisco.

WWDC 2013 Predictions
Posted on
I've been thinking a ton about tomorrow's keynote. I think everyone has. This year is different than most. No one knows anything this year. If you think back to the iPhone 4 announcement, Steve even commented during the keynote that "some of you have already seen this." This year it's just silence.
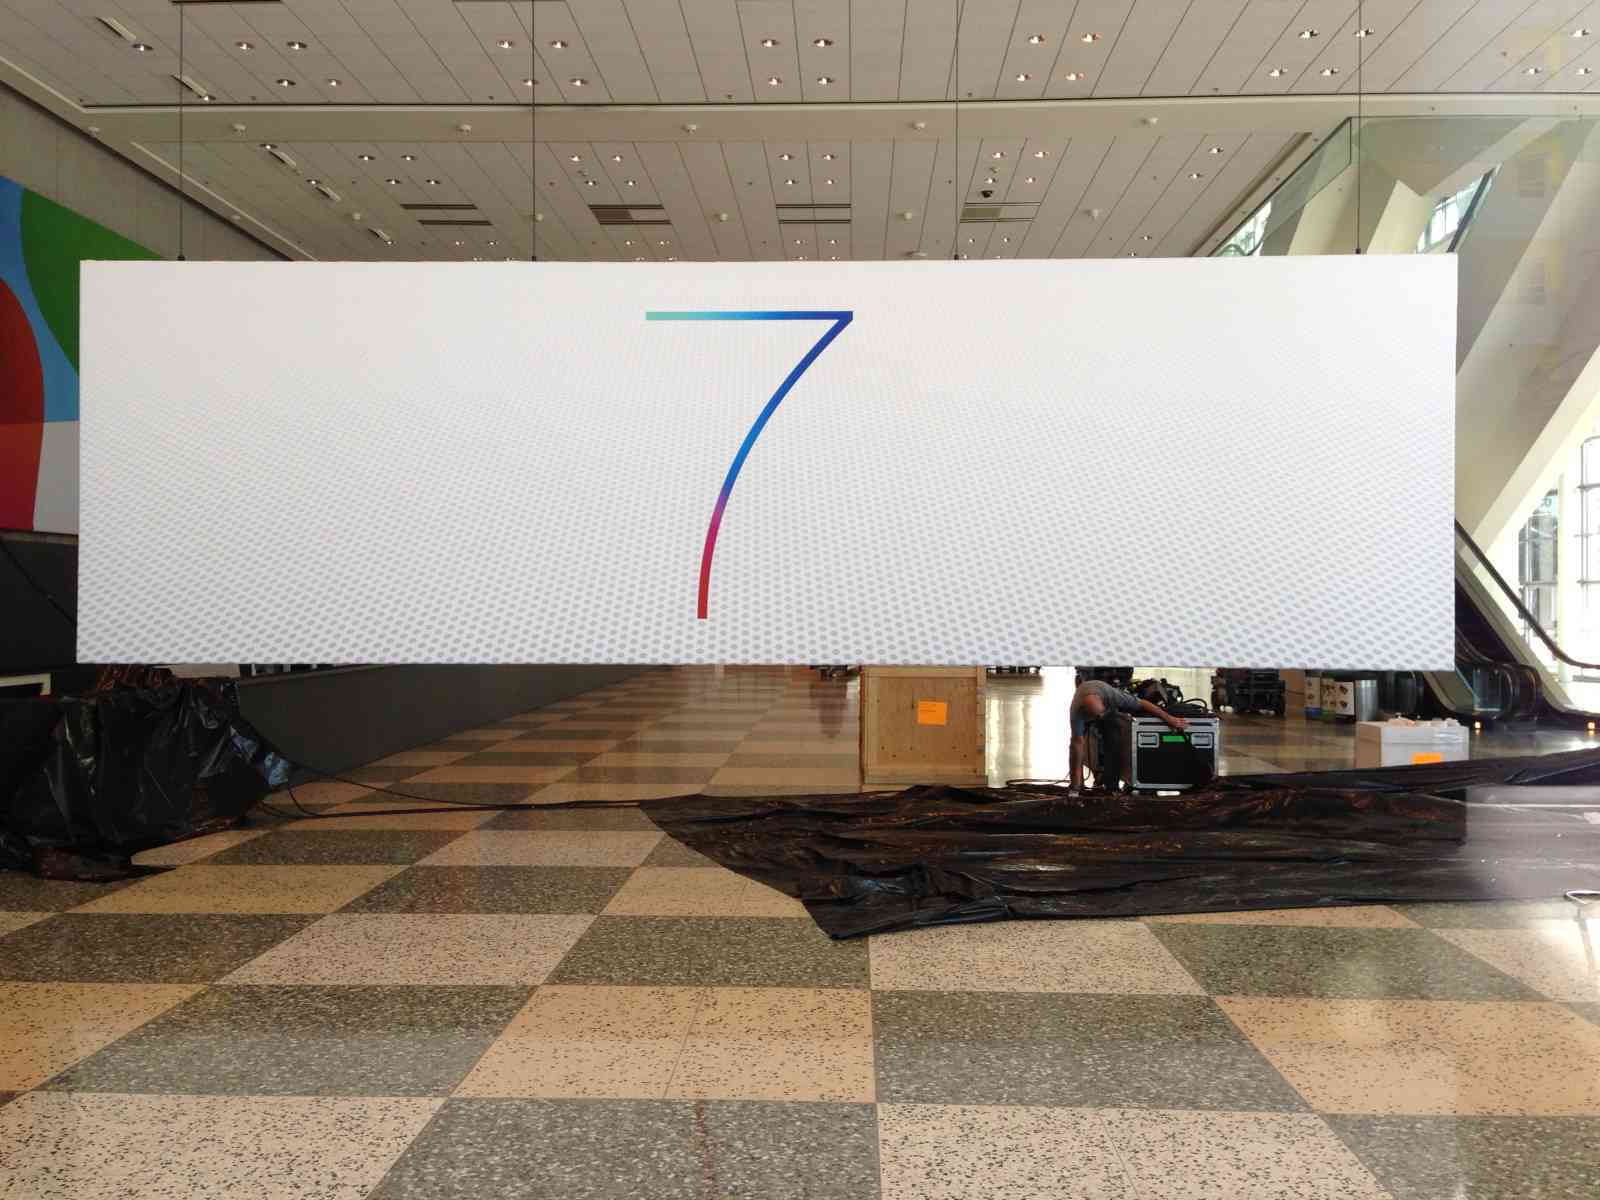
The big change this year besides how quiet it's been is that Ive is in charge of the software design for the first time. The banners around the Moscone are shockingly different:

My DNA
Posted on
Recently, I spit in a plastic tube and mailed it to California. While that sounds like a fun prank, it was to get my DNA tested by 23andMe. The first few minutes of this video show the unboxing/spitting.
23andMe is a really neat company that has been around since 2007. They process your DNA and tell you what it means. It's only $99 to get yours tested.
Here's the highlights from my results.
Why I Don’t Use Interface Builder
Posted on
For iOS development, I don't use Interface Builder. I haven't willfully used a NIB (when I say NIB, I mean Interface Builder file, not the specific format) since iOS 2.0. In the past, I've worked with a few folks that really liked using Interface Builder. This is an argument I've had over and over.
Instead of mindlessly arguing on one side or the other of this, here's my go to points when I'm trying to win someone over.
Choosing to be explicit is my number one reason to do things in code instead. If someone new to the team opens up a view or view controller, they can see right away where everything is and not have to wonder if this file has a NIB.
How I Design for iOS
Posted on
As a developer, designing is a big challenge. My process is a lot different than "normal designers." I design much like I code: trial and error.
When I'm programming, it's constantly running the tests to see what failed, trying a fix, repeat. It's finding a bug, try a fix, repeat. You get the idea. That's how I work. It's constantly iterating on ideas to see if they work.
When I was first starting out, I'd find myself reading entire source files to try to understand everything that was happening and only running the code very rarely. It's no surprise that were lots of bugs in this code. Letting the computer do the work for you is like the whole point. Anyway, this is how I design.